Tidigare fanns webbyrån Good Old på denna adress. Idag är den en del av framgångsrika Fanclub.
DIGITAL MARKNADSFÖRING
Inom loppet av några årtionden har världen som vi kände den forändrats fundamentalt. Internet spreds till massorna - framför allt i västvälden - i slutet av det föregående milleniet och just i början av den nya och utvecklingen därefter är helt otrolig. Väldigt många arbeten har helt försvunnit och ersatts av datorer och tidigare yrken har i mångt och mycket ändrat skepnad. De flesta yrken involverar idag datorer - allt från renodlade "pappersyrken" till de absolut mest kreativa.
Digital marknadsföring
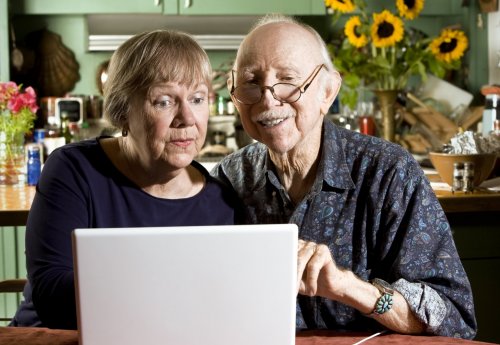
För att som företag nå ut till kunder är det idag digital marknadsföring man ska satsa på. Snart är traditionell reklam historia. Vill man att potentiella kunder ska hitta en så måste man synas på nätet - i de rätta forumen, vid rätt tidpunkt och på ett sätt som attraherar de rätta målgrupperna. Gemene man vet fortfarande ganska litet om webbmarknadsföring och därför finns det webbyråer som ägnar sig helt åt detta. Om du har en egen webbyrå och behöver öka likviditeten så kan du sälja faktura och få in pengar snabbt.
En kompott av metoder och nischer
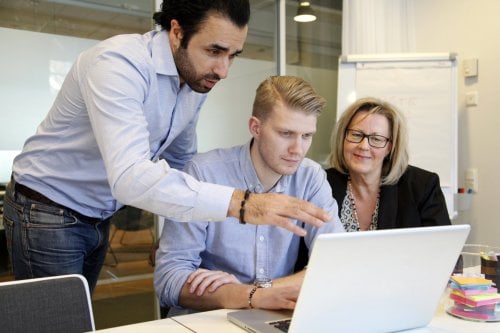
Metoderna för modern webbmarknadsföring är många och ofta är det efter en grundlig analys av behoven samt sedan en mix av metoder man använder sig av. Nischerna inom webbmarknadsföring är också många - allt från design till analys till teknisk kompetens. En framgångsrik webbyrå består i regel av en grupp personer som alla är specialister på olika metoder och nischer men som samtidigt kan samarbeta sig fram till framgångsrika resultat.
En sak de har gemensamt är att de är helt beroende av att elen fungerar. Se till att alltid ha bra avtal med elföretag som kan hjälpa till snabbt vid akuta elfel.
Det finns många webbyråer i Sverige idag och fler lär de bli. Efterfrågan på kompetenta webbmarknadsförare, -strateger och -utvecklare är enorm, vilket är tur eftersom det är många som satsar på dessa yrken idag.
Som företagare inom detta kan det även vara smart att köpa logotyp. Det är bra att designa den så att den visar upp ert företags värderingar på ett bra sätt samt att den fungerar inom olika medier.
Viktigt hur du inreder ditt kontor
Att jobba på kontor är det många som gör. Hur det är möblerat samt hur arbetsmiljön ser ut för övrigt är viktigt att tänka på. Just kontorsmöblerna är en del av detta. Kontorsmöbler från Morekontor.se » är inte fel att satsa på!